[ Note: This post is for beginners with Microsoft Azure and just about creating the environment. Will cover few exciting features in the next blog posts ]
Expiry date of the post: 1st June 2016
A post, with an expiry date ! Sounds illogical, isn’t it?
Well, it’s true and I will explain this soon.
If you are from database background and have ever used SQL Server or currently working on areas related to data or SQL Server, you must be aware of the trending buzz among the people around you. A more faster, secure and powerful SQL Server, SQL Server 2016 will be available soon. Microsoft continuously surprising people with their moves towards making many development tools like Visual Studio, .Net etc cross-platform, open-source and more feature rich. SQL Server 2016 have few surprises too and with many new features & improvements.
The biggest news this year for database professionals was the announcement to make SQL Server available to run on Linux OS (the expected time for availability is mid of 2017, though). Apart from this, peoples at Microsoft have worked hard to bring many exciting features to SQL Server 2016 in the areas like Security, BI, Data Warehousing, Analytics etc. There are many improvements and new features added to the SQL Server Management Studio too. Microsoft has announced to release SQL Server 2016 on 1st of June 2016, around 13 days more. Once it’s available you can download and checkout the features. As announced earlier, the developer edition will also be free along with Express edition as usual. Now, if you are somebody who can’t wait for another 13 days period (like me 😉 ) then let’s see what are the options available with us. As you might already know, SQL Server 2016 RC3 (Release Candidate) is available for download, you can just download and install it in your machine. But for just 13 days, the better option is to create a free Azure account with promotional $200 credit and checkout the features without harming to your existing system. Hopefully, I have clarified on the “Expiry Date” note.
The process is very clear and simple.
- Open azure.microsoft.com
- Following screen should appear

You can see $200 credit offer which will be valid for 30 days. Click Start now. - You will be redirected to the Azure login page. Provide your existing Microsoft account details or create a new one using Sign up now.
- Once you are logged in, either click on Portal or just visit portal.azure.com
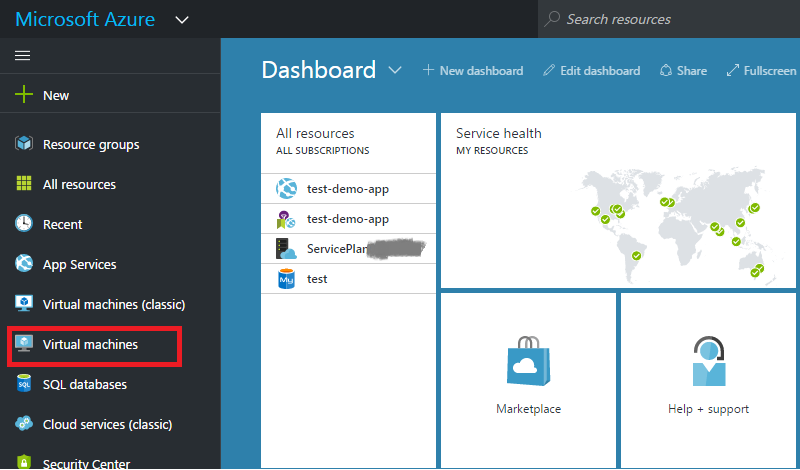
- You should be presented with something like following screenshot. Right side is your dashboard which you can customize as per your need and the left menu lists out the broad categories of Azure service offered. Click on the Virtual machines.
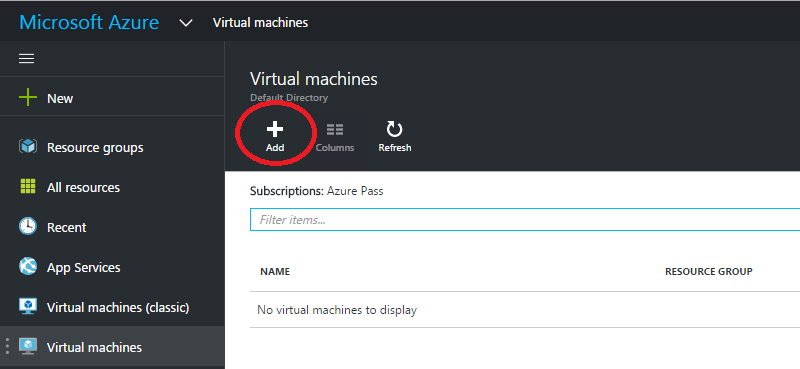
- Click Add.
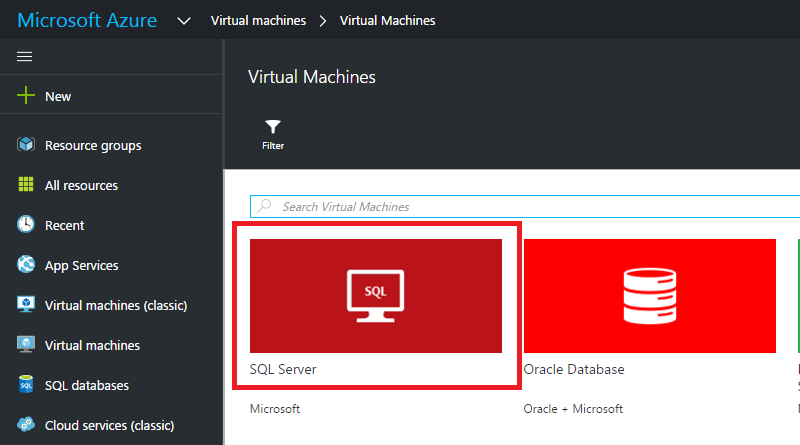
- Find SQL Server in the list and click on it.
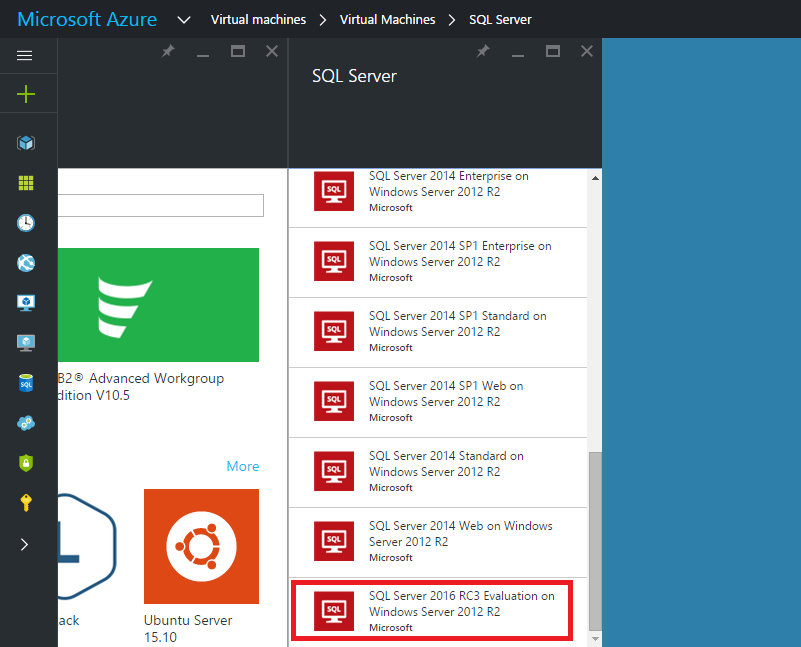
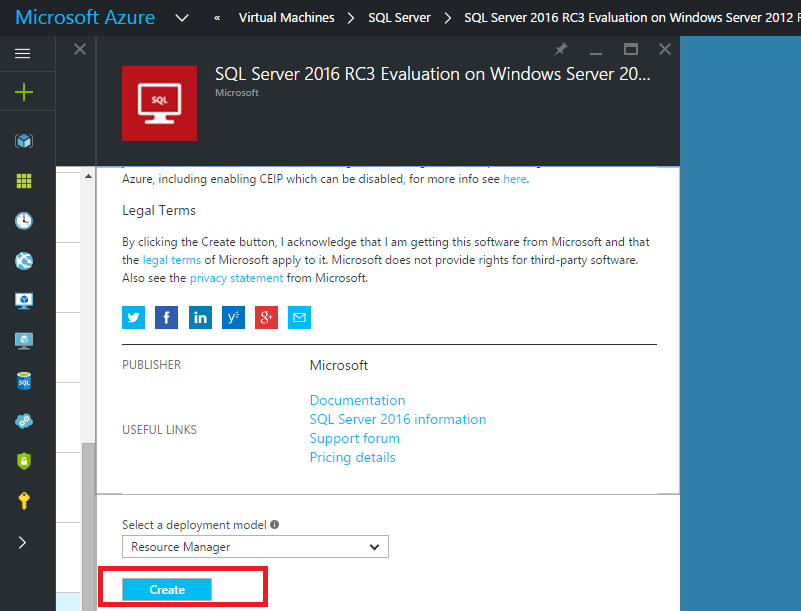
- As you march forward, you’ll notice that further settings are getting opened as a new panel on the right side. Find SQL Server 2016 RC3 Evaluation on Windows Server 2012 R2 towards the bottom of the list and click on it.
- Just click on the Create button for now.
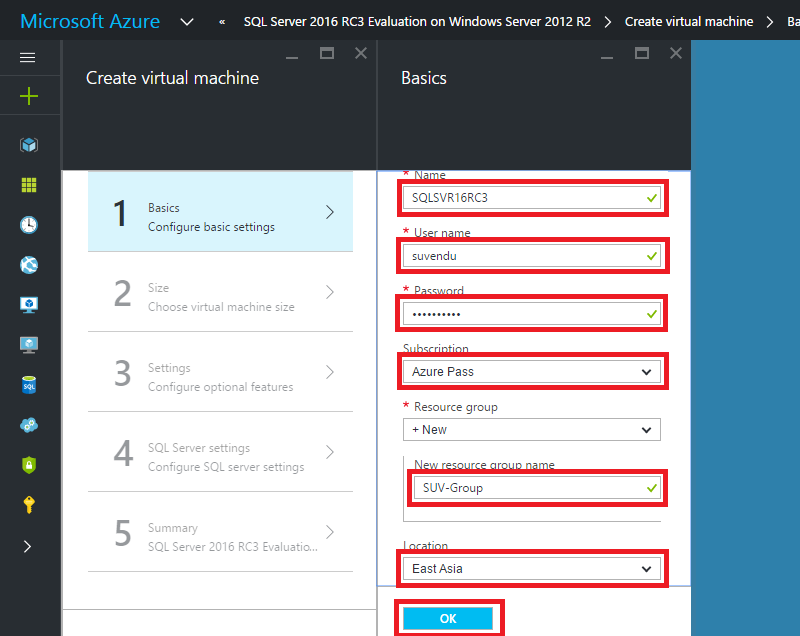
- You need to provide some more details about your virtual machine. Go ahead with filling Basic settings first. Note that I have used Azure Pass as subscription here but you will have the free trial option if you have signed up for free trial, otherwise your existing subscriptions.
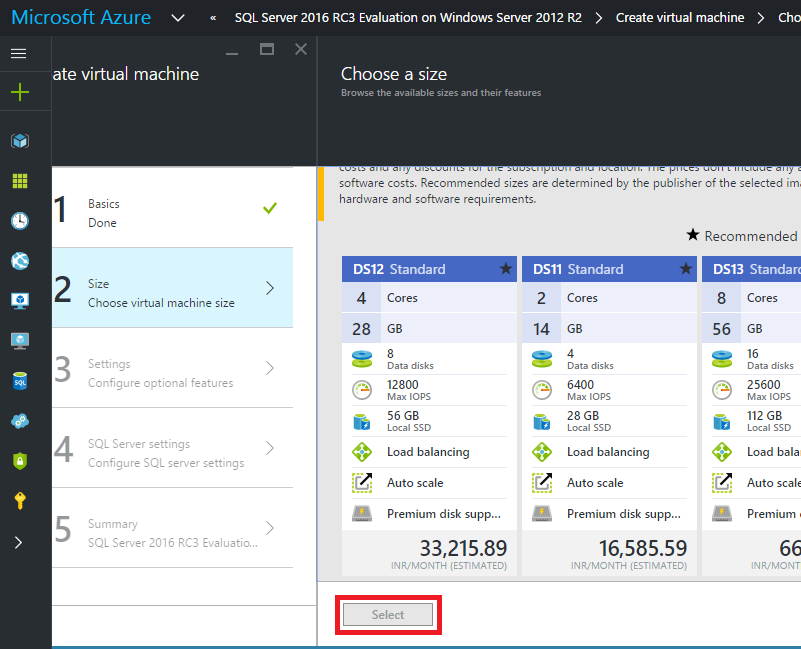
- At next step, you need to select the size which lists out the hardware details for each of the option. Choose a size from the recommended category only as these are the options which meets the hardware requirement specification that is published by the publisher (Microsoft in our case).
NOTE: Prices mentioned in these options will be charged from your subscription account. If you are using Azure Pass or Free Trial, you can use those subscriptions to purchase this. For Free Trial, make sure not to agree for paying from your credit card. The subscription days should be truncated as per your balance in the subscription.
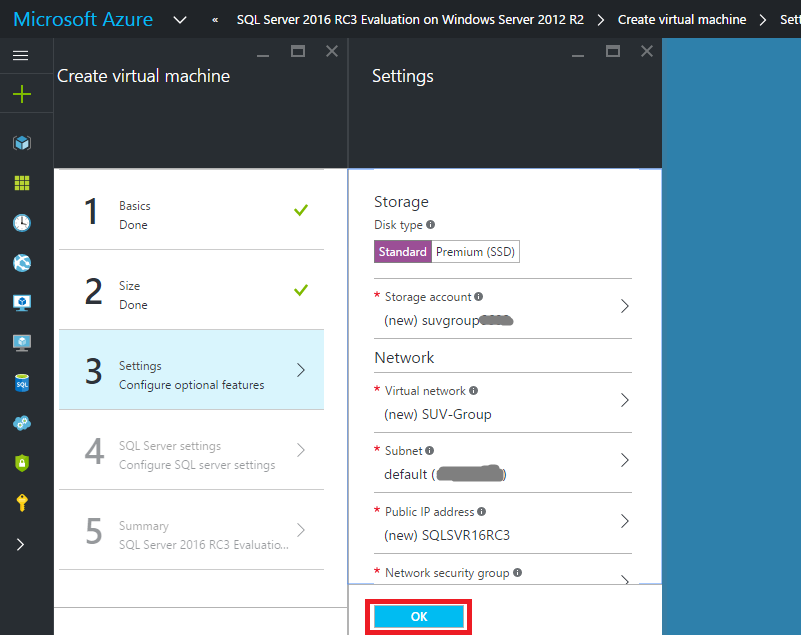
- Next, you can customize various other settings such as Storage, Network etc. or just click OK to navigate to next step.
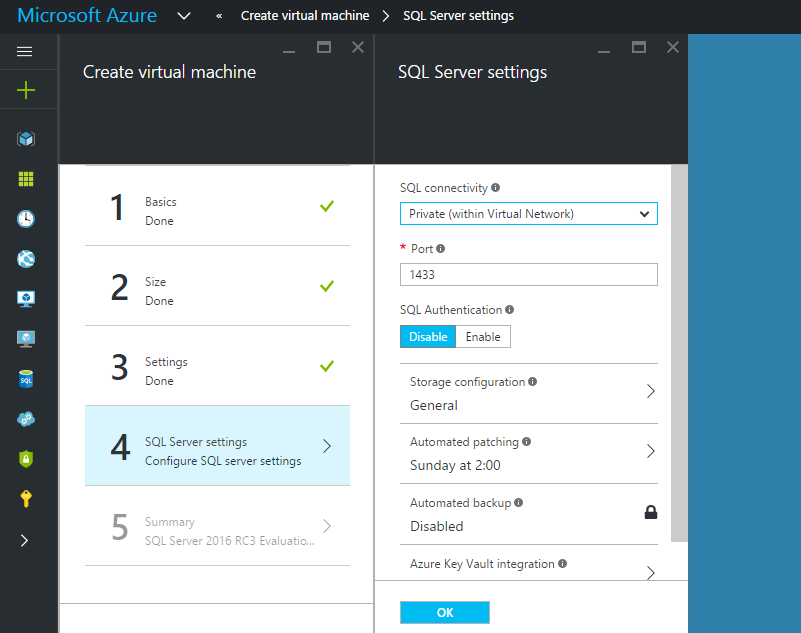
- Then few more settings for your SQL Server instance like whether you want to use it inside VM, Virtual Network or available publicly over internet etc. You can customize according to your need or just click OK.
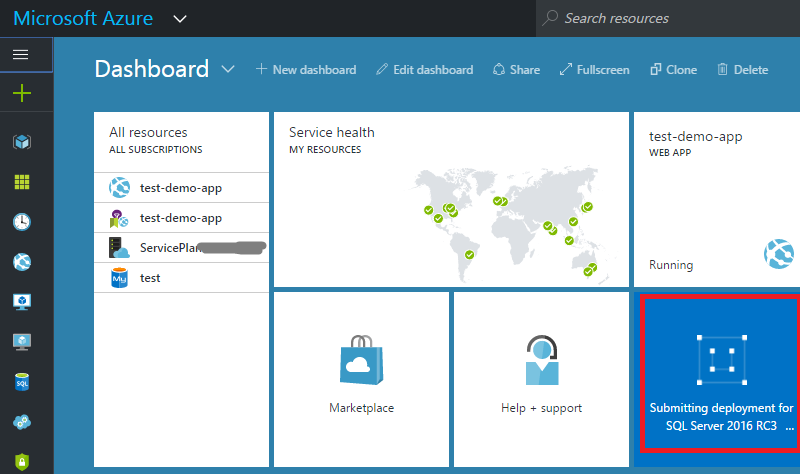
- Then it will run a final validation and clicking on OK should start the deployment. You will be redirected the dashboard and you can see the progress there.
- Once deployment is completed, you will be notified with a message “Deployment Succeeded”. Just copy the public IP from your virtual machine details and do the RDC (Remote Desktop Connection)
- Your VM is now ready with SQL Server 2016 RC3 installed in it. Type “SSMS” in the start screen and pin it to Task Bar or Start Screen and start using it.
That’s all for now. In my next blog posts, I will share some interesting features that are introduced with SQL Server 2016. Stay Tuned !
Thanks for reading 🙂
